

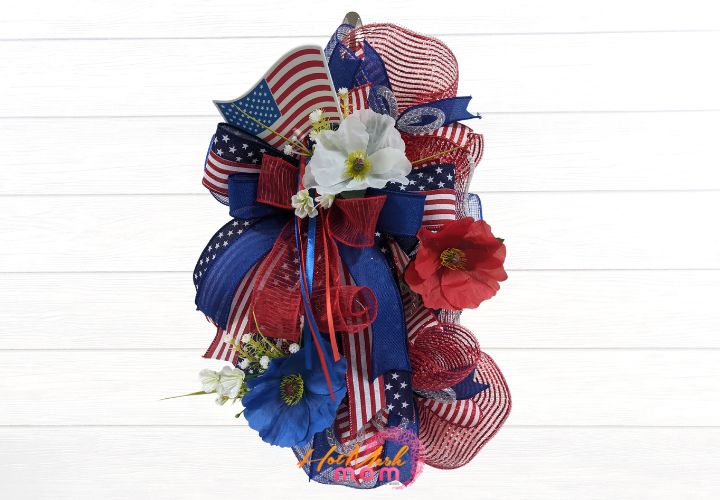
Welcome guests with some patriotic pride using this 4th of July patriotic swag that will dress up your front door.
The 4th of July is just around the corner and you know what that means: it’s time to break out the red, white, and blue. If you’re already planning on celebrating with patriotic decorations, hosting a summer party at home, or celebrating with fun 4th of July activities, you’ll still want to get your front door ready for Independence Day. It’s the first thing your party guests will see when they come to your home, after all.

Create your own Patriotic Swag!
I am going to show you how easy it is for anybody, even beginners, to create this sweet wreath with just a few simple supplies.
What you will need to make your Patriotic Swag:
- 12” straight wreath rail
- 4 x 2.5′ ribbons
- white deco tubing
- Red 10” mesh
- Blue 10” mesh
- Red and white 10” mesh
- Pipe cleaners
- Ribbon tail board
- Scissors
- Rotary cutter
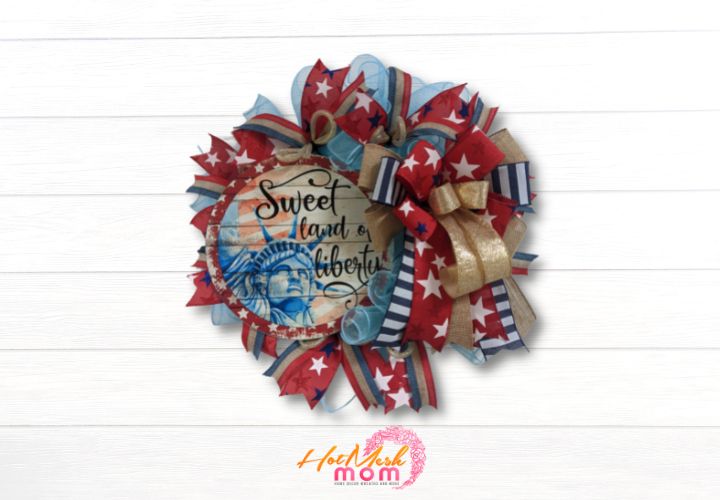
- Patriotic flag sign
- Red, white and blue flowers.
How to make your Patriotic Swag:
- Take a wreath rail and add 8 pipe cleaners to the rail.
- Cut your mesh.
- Take the mesh and make ruffles.
- Add your ruffles to the swag.
- Cut your ribbon tails.
- Dovetail the ends of your ribbon.
- Layer the two different ribbon tails, pinch the middle together and add it into the twist tie with the mesh.
- Add tails into all your twist ties.
- Cut your tubing.
- Make and add your tubing bows.
- Repeat with the rest of the tubing.
- Make your bow.
- Layer the bows and secure the bow together with a pipe cleaner.
- Attach your bow to your wreath rail using the pipe cleaner.
- Fluff out your bow.
- Dovetail your bow ends.
- Add your flag sign into your design.
- Add in a variety of red, white and blue flowers.
If you want to make your very own wreath rail exactly like this one, then check out the recipe card below for all of the details.
Frequently Asked Questions
This Patriotic Swag was so fun to create and I’m sure you can’t wait to do it yourself! It is so fun and super simple to make! You are able to take this idea and make it completely different or exactly the same, but in case you have some questions, I have some answers!
How to Use Ribbon Tail Boards?
If you use ribbon tails in your creations, you know that cutting them evenly can be tedious and time consuming. That’s why Richard and I designed one of my favorite wreath making tools, the ribbon tail board. In this video below I show you how quick and easy it is to use. You’re going to love it!
Using the ribbon tail board allows me to quickly cut as many tails as I want and have them come out perfectly every time. All I have to do is wrap the ribbon around the measured board and cut at the folds. Then they are ready for dovetailing and crafting!
What is the Difference Between a Wood Cutout and a Wreath Rail?
One of the questions that Richard and I get asked a lot is “What is the difference between a wood cutout and a wreath rail?” In this post we are giving you all the answers friends!
We know that sometimes it can be a little confusing keeping the products straight. Especially if you’re new to the wreath making community or new to us. So, we are going to clear things up a bit by explaining the difference between a wood cutout and wreath rail!
Wreath vs. Wreath Rail
The difference between a wreath and a wreath rail might not be so obvious, and you might be wondering what the difference is. It is important to know what each one does before you start making your purchase decision.
In some ways there isn’t much difference between a wreath rail and a wreath. They both look amazing with deco mesh and ribbon tails. They both can be customized for any season or style. And they both make fabulous door décor. But, there are differences between the two that make them each wonderfully unique. Check out this blog post for more information on wreaths vs. wreath rails and how they differ!
If you need any help with painting your own wood signs or wreath rails and decorating your custom wreath rails, be sure to check out more of our tutorials on Hot Mesh Mom Blog.
We would love to see your amazing wreath rail designs! Please share with us over at the Hot Mesh Mom Facebook.
Patriotic Swag
Learn how you can make a Patriotic Swag with this simple tutorial.
Supplies
12” straight wreath rail
Patriotic flag
Red, blue and white flowers
Directions
- Take a wreath rail and add 8 pipe cleaners to the rail.
- Add a hanger to the top of the rail.
- Take your mesh and cut 3 x 10” strips of the red and blue mesh and 2 x 10”strips of the red and white striped mesh.
- Take the mesh and make ruffles.
- Add the ruffles into the wreath rail, alternating the colors as you go.
- Take your striped ribbon and your blue ribbon and cut 8 x 8” strips of each one.
- Dovetail the ends of your ribbon.
- Layer the two different ribbon tails, pinch the middle together and add it into the twist tie with the mesh.
- Add tails into all your twist ties.
- Take your tubing and cut 8 x 12” pieces.
- Take the tubing, make a circle and pinch the middle to make a bow.
- Add the tubing bow into a twist tie on top of the ribbon tails.
- Repeat with the rest of the tubing.
- Make your bow: Take your patriotic ribbon, blue ribbon, and your red ribbon and make a bow with each ribbon.
- Layer the bows and secure the bow together with a pipe cleaner.
- Attach your bow to your wreath rail using the pipe cleaner.
- Fluff out your bow.
- Dovetail your bow ends.
- Add your flag sign into your design.
- Add in a variety of red, white and blue flowers.
Recipe Video
Just pin this patriotic swag using a 12″ rail tutorial to save the instructions for later!