We are all so busy doing all the things, and every time it looks like we are getting caught up, there are more things to do. I love anything that saves me time and labor. I’m sharing one of those things with you: how to use a ribbon tail board!
If you use ribbon tails in your creations, you know that cutting them evenly can be tedious and time consuming. That’s why Richard and I designed one of my favorite wreath making tools, the ribbon tail board. In the video below I show you how quick and easy it is to use. You’re going to love it!
Using a Ribbon Tail Board
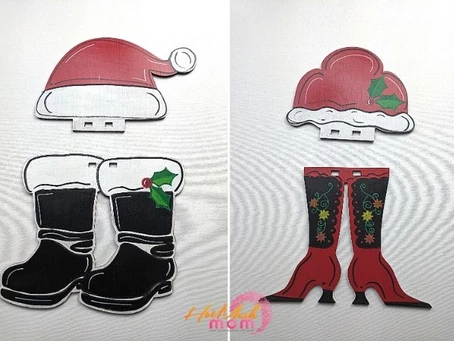
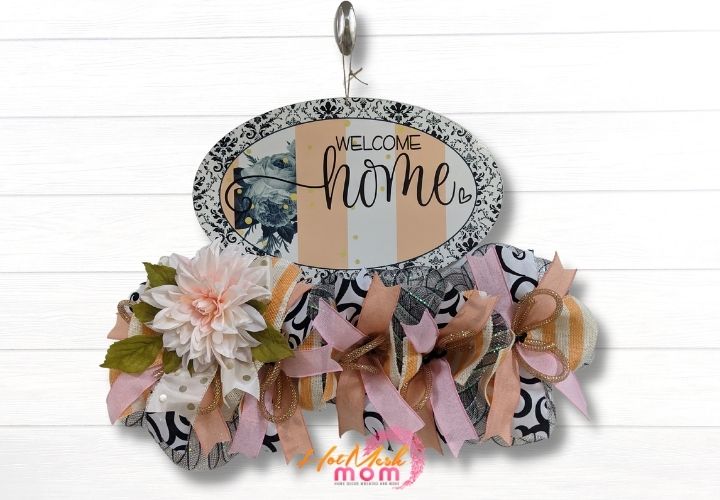
I love using deco mesh on my wreaths and wreath rails. One of my favorite parts is how pretty ribbon tails make those creations look. When I started crafting more and more, I realized that there had to be an easier way to cut all those tails. I wanted them to be perfectly even, but I didn’t want to have to measure every single one.
Using the ribbon tail board allows me to quickly cut as many tails as I want and have them come out perfectly every time. All I have to do is wrap the ribbon around the measured board and cut at the folds. Then they are ready for dovetailing and crafting!
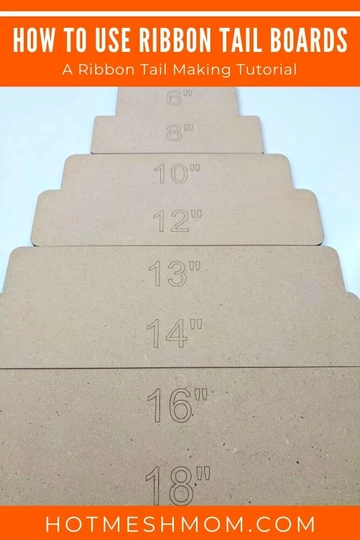
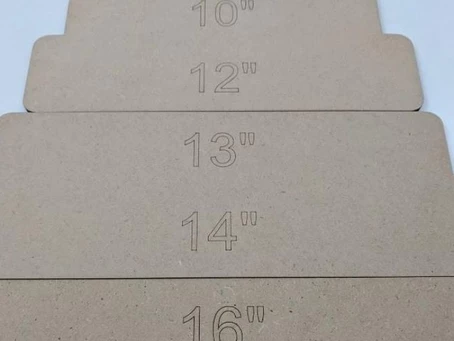
We know that everyone has their own favorite length for ribbon tails so we designed several boards. I like to make 14 inch tails, so I use the board that is 13 inches on one side and 14 inches on the other. However, we also have three other board sizes: 6”/8”, 10”/12”, and 16”/18”. So no matter the project, you can easily cut your ribbon tails to the length you want them! In the video below, I show you exactly how to do it.
Ribbon Tail Supplies
- Ribbon tail board
- Ribbon of your choice
- Scissors
Ribbon Tail Board Instructions
- Wrap a little tail (about an inch) around one end of your ribbon tail board to help it stay in position. Hold it in place with your thumb and begin wrapping your ribbon around the board. Pull it securely but don’t wrap it too tightly or you won’t be able to slide the ribbon of the board.
- Once you have a few layers you will not have to hold the ribbon in place any longer. Instead hold the board itself as you wrap the ribbon and turn the board.
- When you think you have enough tails measured, you can double check by counting before you make your cuts. When you have all the tails you need, use your scissors to trim the ribbon off the spool.
- Next, carefully slide the ribbon off the board, keeping the ribbon loops intact. Next, use your scissors to cut in where the ribbons are folded.
- Finally, dove tail the ends of your ribbon tails. You can do this with several tails at once to save time.
- Now, you’re ready to add your tails to your next creation!

I know that using these boards has changed my crafting life. I have been able to save time and labor. Even better, no more wasted materials, because I measured incorrectly or cut too many tails! It’s such a simple thing but – let’s face it – in this crazy life, anytime we can add some simplicity feels like a win to me!
If you need any help with painting your own wood signs or wreath rails and decorating your custom wreath rails, be sure to check out more of our tutorials on Hot Mesh Mom Blog.
We would love to see your amazing wreath rail designs! Please share with us over at the Hot Mesh Mom Facebook.
How to Use Ribbon Tail Boards
Supplies
Ribbon of your choice
Directions
- Wrap a little tail (about an inch) around one end of your ribbon tail board to help it stay in position. Hold it in place with your thumb and begin wrapping your ribbon around the board. Pull it securely but don’t wrap it too tightly or you won’t be able to slide the ribbon of the board.
- Once you have a few layers you will not have to hold the ribbon in place any longer. Instead hold the board itself as you wrap the ribbon and turn the board.
- When you think you have enough tails measured, you can double check by counting before you make your cuts. When you have all the tails you need, use your scissors to trim the ribbon off the spool.
- Next, carefully slide the ribbon off the board, keeping the ribbon loops intact. Next, use your scissors to cut in where the ribbons are folded.
- Finally, dove tail the ends of your ribbon tails. You can do this with several tails at once to save time.
- Now, you’re ready to add your tails to your next creation!
Recipe Video
Just pin this How to Use Ribbon Tail Boards tutorial to save the instructions for later!