Hey you guys! I have such a cute project I wanted to share with you. It’s a DIY Gingerbread Cupcake Wreath Rail I was craving to craft, and I found this sweet gingerbread rail from my stash that is going to be quick and easy to put together. I got this design from Kristi from Glitter Heart Designs. Let’s get to it!
You guys know how much I love Christmas crafts! Usually, I love to have a kit for everyone to do on their own or follow along, but I got this wreath rail a while ago and wanted to show you a cute idea of how to jazz up this wreath rail.

Make Your Own Gingerbread Cupcake Wreath Rail
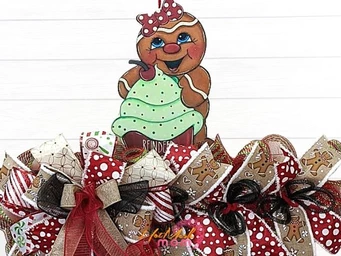
This gingerbread girl is just the cutest thing I found in my stash! Crafting for the holidays is a lot of fun, and it reminds me of all of the traditions that surround Christmas time, especially baking gingerbread cookies. In the video, I will be showing you how I make this gingerbread wreath rail as an inspiration to decorate your home!
This sweet treat has such an adorable look to her, with the details of the cupcake with sprinkles and a cherry on top, polka dot bow, and rosy cheeks. I am going to show you how I add on some mesh, ribbon, tubing, and a bow to take her to the next level.
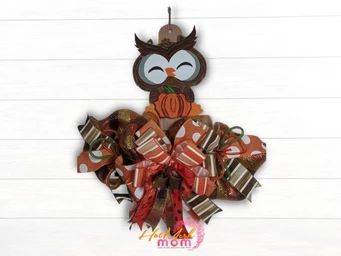
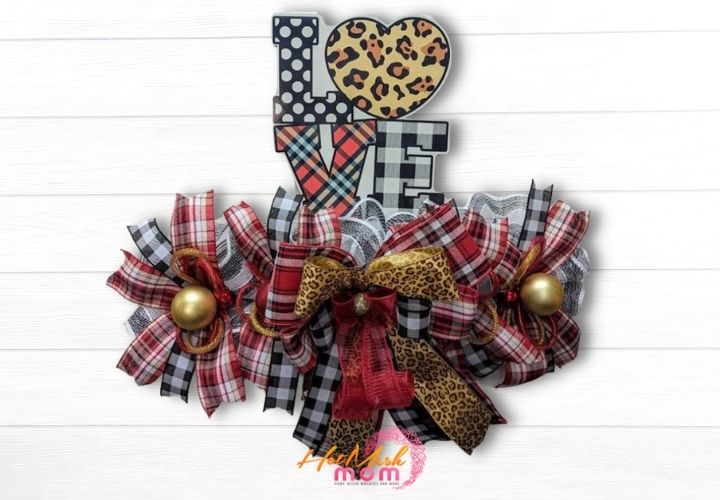
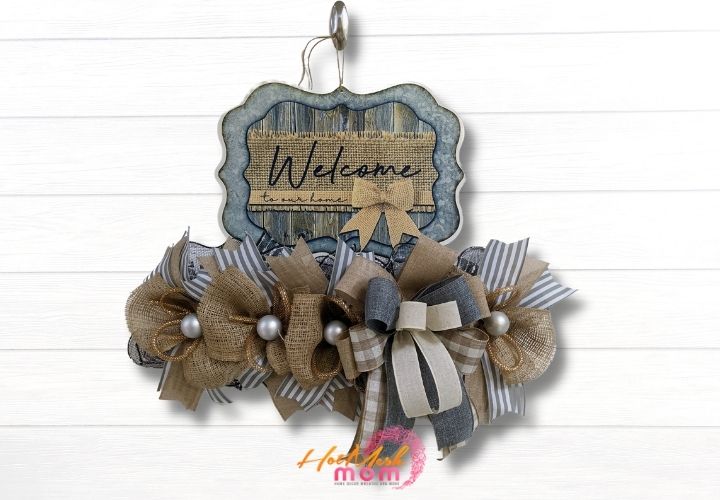
For those of you that don’t know, this is a wreath rail. We call it that, because it’s very similar to a wreath that you put on your front door. If you’re interested in learning more, we have another blog post about the differences between a wreath and a wreath rail.
DIY Gingerbread Cupcake Wreath Rail Supply List
- 18” Gingerbread cupcake rail
- 7- Pipe cleaners
- 10″ deco mesh (red and gold)
- 2- 4” wired ribbon (Gingerbread themed, red and white polka dot)
- Black tubing
- 2- 2.5” Christmas ribbons (White with gold, Candy ribbon, Candy cane)
- 1- 1.5” ribbons (red, black, tan)
- EZ Bow Maker
- Ribbon Tail Board
Gingerbread Cupcake Wreath Rail Instructions
- Start by cutting 5- 30” pieces of the red and gold trim 10” deco mesh.
- Next, start attaching your pipe cleaners. You are going to tie two at the end and three in the middle and spread all of them evenly apart across the rail.
- Then you’re going to take your 5 strips of deco mesh to make one ruffle for every other twist tie. To do this, you are going to roll up the edges a little bit and then scrunch it up the center. Add the center part of the ruffle to the ties. If some of your board is showing, you can pull your mesh to the front and cover the white space on your wreath rail.
- To make sure you have more room for your bow, I take the second pipe cleaner and loosen it up a bit to make sure the bow is able to fit. Cut the other pipe cleaners down for a cleaner look.
- Next is to make some filler. I use my ribbon tail board to cut out 4 pieces of 4” gingerbread ribbon and the 4” red and white polka dot. I wrap it around my board 4 times and I cut it off from the roll, remove the wrapped around ribbon, and cut the wrap where they all meet at the top. Once I have my 4-pieces of both ribbons I will trim the ends of the tails on your ribbon in angle or dovetail.
- Then you will get one piece of gingerbread and red polka dot ribbon tails, fold them in half and pinch the center together. Attach the center pinch to the first twist tie on the wreath rail. Repeat with the remaining ribbon tails and twist ties leaving the second pipe cleaner alone for the bow. Spread out your center tails in Xs and then Ks at both ends.
- To add some texture and bring out all of the colors to your design, start by cutting 10- 20” of black tubing, take two pieces and make it into a lasso. Pinch the middle to make a bow, lay straight on the twist tie and twist it in. Repeat this to all of the twist ties except for the second pipe cleaner you are going to leave for your bow.
- Next we make a bow! Get out your EZ Bow Maker and your ribbons. Start with a 2.5” of white with gold ribbon, measure a 14” tail, twist the ribbon and then add it to the EZ bow maker. Then make a 6” loop, twist.. Make another loop on the other side then trim after a 14” tail.
- I next added another 4” ribbon, with a candy design to it, and then I will repeat the same process making 6” loops this time and your loops are going to lay on top of each other and you will spread them out to make your bow.
- Use another 2.5” ribbon, I used a candy cane one to repeat the same process making a 6” loop this time and your loops will still be 14” ribbon tails.
- Using the 4” red and white polka dot ribbon to repeat the same process making more 6” loops.
- Now some set of 5” loops with the gingerbread ribbon.
- Another set of 5” loops adding on to our bow with some black sheer ribbon
- To now break up some of the color add in a 1.5” in ribbon tan sheer with sparkle ribbon, it will again be 5” loops.
- Last ribbon you are going to take 1.5” red sheer ribbon and make a smaller bow on top.
- Take two pipe cleaners and twist the ends together to make one long pipe cleaner. Remove your bow from the bow maker and use the long pipe cleaner to secure the center of the bow, twisting it off at the back nice and tight.
- Use the pipe cleaners on the bow to push through the mesh and attach the bow to the wreath rail.
- Finally, trim the ends of the tails on your bow in angle or dovetail cuts.
If you want to make your very own wreath rail exactly like this one, then check out the recipe card below for all of the details.
This sweet and simple project was fun to make and put me into the Christmas spirit! Making this for my own house to plan all of my decorations is so fun, but also being able to gift this to someone else to put them into the Christmas spirit warms my heart as well. This project could even be sold in your own shop. Whatever it may be that you do with this wreath rail, throw on some Christmas music and have fun!

If you need any help with painting your own wood signs or wreath rails and decorating your custom wreath rails, be sure to check out more of our tutorials on Hot Mesh Mom Blog.
We would love to see your amazing wreath rail designs! Please share with us over at the Hot Mesh Mom Facebook.
DIY Gingerbread Cupcake Wreath Rail
Supplies
10″ deco mesh (red and gold)
2- 4” wired ribbon (Gingerbread themed, red and white polka dot)
2- 2.5” Christmas ribbons (White with gold, Candy ribbon, Candy cane)
1- 1.5” ribbons (red, black, tan)
Directions
- Start by cutting 5- 30” pieces of the red and gold trim 10” deco mesh.
- Next, start attaching your pipe cleaners. You are going to tie two at the end and three in the middle and spread all of them evenly apart across the rail.
- Then you’re going to take your 5 strips of deco mesh to make one ruffle for every other twist tie. To do this, you are going to roll up the edges a little bit and then scrunch it up the center. Add the center part of the ruffle to the ties. If some of your board is showing, you can pull your mesh to the front and cover the white space on your wreath rail.
- To make sure you have more room for your bow, I take the second pipe cleaner and loosen it up a bit to make sure the bow is able to fit. Cut the other pipe cleaners down for a cleaner look.
- Next is to make some filler. I use my ribbon tail board to cut out 4 pieces of 4” gingerbread ribbon and the 4” red and white polka dot. I wrap it around my board 4 times and I cut it off from the roll, remove the wrapped around ribbon, and cut the wrap where they all meet at the top. Once I have my 4-pieces of both ribbons I will trim the ends of the tails on your ribbon in angle or dovetail.
- Then you will get one piece of gingerbread and red polka dot ribbon tails, fold them in half and pinch the center together. Attach the center pinch to the first twist tie on the wreath rail. Repeat with the remaining ribbon tails and twist ties leaving the second pipe cleaner alone for the bow. Spread out your center tails in Xs and then Ks at both ends.
- To add some texture and bring out all of the colors to your design, start by cutting 10- 20” of black tubing, take two pieces and make it into a lasso. Pinch the middle to make a bow, lay straight on the twist tie and twist it in. Repeat this to all of the twist ties except for the second pipe cleaner you are going to leave for your bow.
- Next we make a bow! Get out your EZ Bow Maker and your ribbons. Start with a 2.5” of white with gold ribbon, measure a 14” tail, twist the ribbon and then add it to the EZ bow maker. Then make a 6” loop, twist.. Make another loop on the other side then trim after a 14” tail.
- I next added another 4” ribbon, with a candy design to it, and then I will repeat the same process making 6” loops this time and your loops are going to lay on top of each other and you will spread them out to make your bow.
- Use another 2.5” ribbon, I used a candy cane one to repeat the same process making a 6” loop this time and your loops will still be 14” ribbon tails.
- Using the 4” red and white polka dot ribbon to repeat the same process making more 6” loops.
- Now some set of 5” loops with the gingerbread ribbon.
- Another set of 5” loops adding on to our bow with some black sheer ribbon
- To now break up some of the color add in a 1.5” in ribbon tan sheer with sparkle ribbon, it will again be 5” loops.
- Last ribbon you are going to take 1.5” red sheer ribbon and make a smaller bow on top.
- Take two pipe cleaners and twist the ends together to make one long pipe cleaner. Remove your bow from the bow maker and use the long pipe cleaner to secure the center of the bow, twisting it off at the back nice and tight.
- Use the pipe cleaners on the bow to push through the mesh and attach the bow to the wreath rail.
- Finally, trim the ends of the tails on your bow in angle or dovetail cuts.
Recipe Video
Just pin this project tutorial to save the instructions for later!